
Headshots are tricky; it’s just me, you and the camera…. And my other gear, and whoever is standing behind me watching you, and all the voices in your head, and all the voices in my head for that matter.
It’s not just me you and the camera at all, ever.
I took some photos for Olivier before Christmas but I wasn’t happy with them, and neither was he. We took another stab at it a few weeks ago and got some much better results. That was due in part to the fact that we knew each other a little bit by then and my brand new softbox light set up. I’ve been thinking about getting a soft box for far too long now and I bit the bullet just a short while before I met Olivier for the second time. Today, I’m going to take you through the basics of the set up and the session.
We started with a fairly simple side on pose – these photos are for professional, business images so we wanted to keep it fairly corporate.
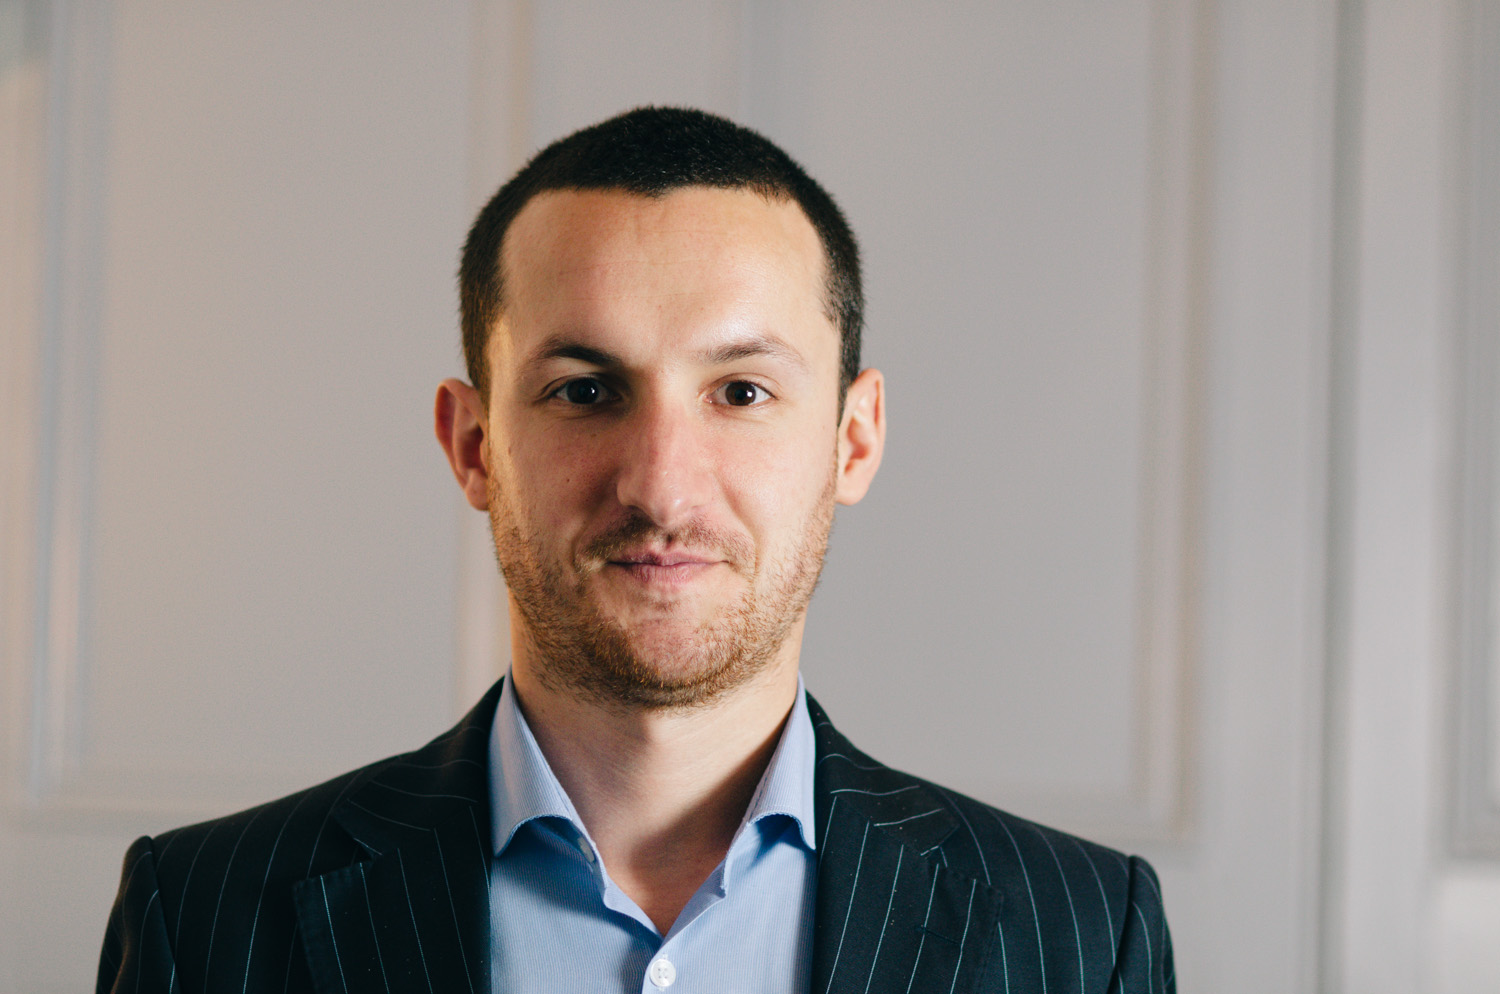
You’ll notice in this photo though that while Olivier’s eyes are in focus, everything else is way out. That’s because I wanted to keep the depth of field as narrow as possible to avoid any details in the doors behind Olivier’s head but I opened the lens up far too wide…

I closed the lens down a bit and then we got this
Nice depth of field and focus but poor guy’s got a serious double chin going on – which I can promise he does not have in real life! We had to clean that line up a bit, so I asked him to lean his head in towards the camera just a little bit. It felt strange for him but it didn’t look strange in camera at all. One whole underchin removed just like that!
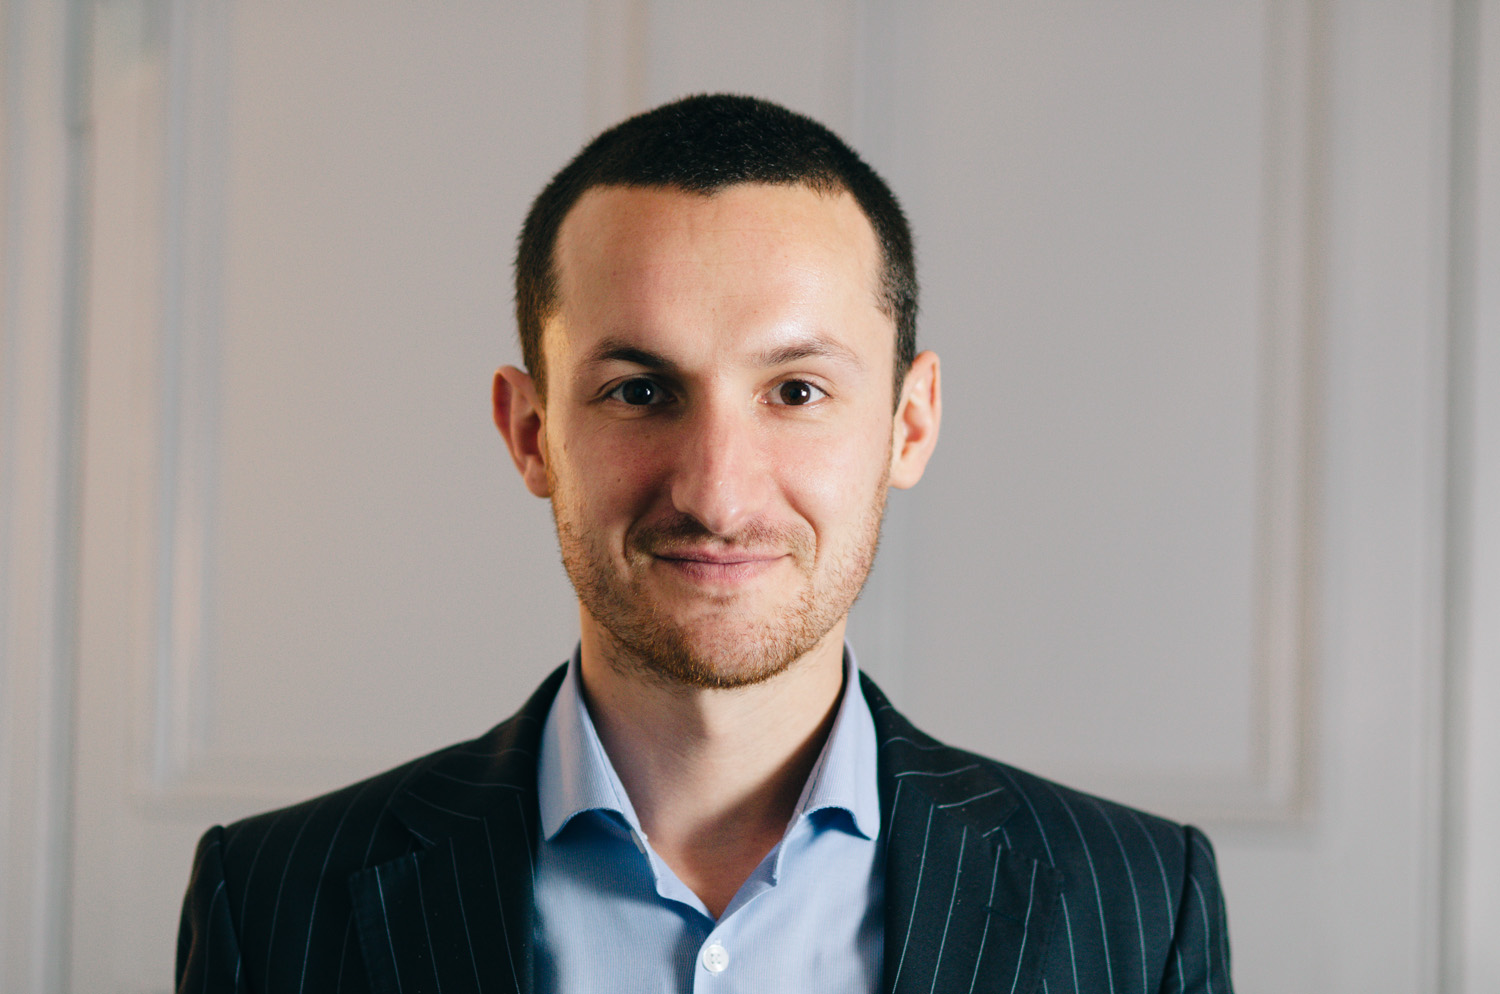
We went for a few more from that angle and I really liked this one, it’s relaxed and the lines are good.
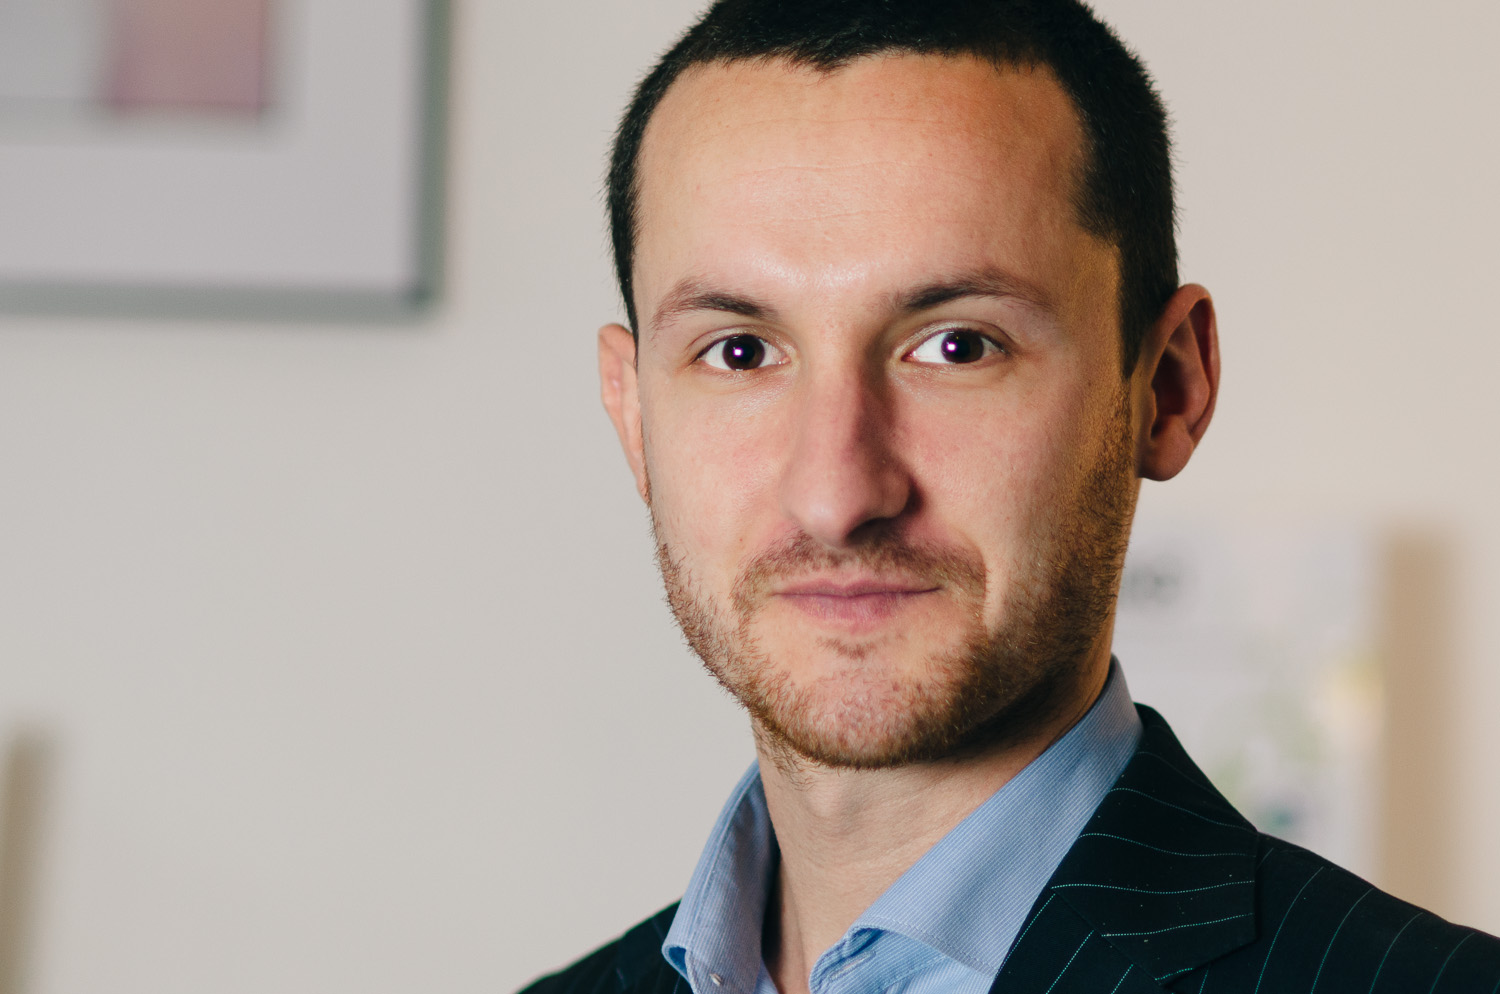
We shot these in the reception are of the business so while it was quiet, we took advantage of the space to try another spot in the space. The nice surprise in this was that we realised that Olivier’s best side is probably his left (it’s difficult to tell when someone brushes their hair completely forward or back – we usually part our hair over our best side). The annoying thing was that it became obvious really quickly just how lobsided and slanty the floor of their Georgian building is…..! Fireplaces can’t be level if the floor isn’t!
A note on post-process:
I’ve been using VSCO Cam’s app on my phone (it’s Apple and android) a lot lately and I really, really love it. I’ve also been spending quite a bit of time loving on Jonas Peterson’s photos and came across this post from his blog in 2013, VSCO Film. So for these images I used a combination of 3 VSCO presets in Lightroom. The film present I used was Kodak Portra-800, a gorgeous film. I then boosted the colour just a bit by adding the ‘creamy highlights’ preset – I really tend to favour warmer tones – and then finished off by cooling that down a small bit with the Kodak tone preset. It means I have a consistent set of images with clear colour tones throughout and have found a new favourite. It also took just a few minutes to create the set as soon as I’d decided on which presets I was actually going to use – and in what order, it does make a difference.
I hope this gives you a small bit of insight into the process of headshots, it’s looking like I’ll have a few more bookings coming up for different uses so I’ll be exploring this a lot more in the near future.
Thanks for looking in,
Éadaoin